Quick Facts
- Category: Cybersecurity
- Published: 2026-05-03 22:44:50
- Groundbreaking Discovery Rewrites Fat Metabolism Science: Key Protein's Dual Role Exposed
- Apple Hit With 30+ Lawsuits Alleging AirTag Stalking Failures
- Claude Mythos Uncovers Record 271 Zero-Day Flaws in Firefox Browser
- Why Are Girls Losing Ground in Math? Insights from the Latest Global Study
- Navigating Microsoft's UK Antitrust Investigation: A Step-by-Step Guide for Enterprise Leaders
The Rise of the Virtual Workstation
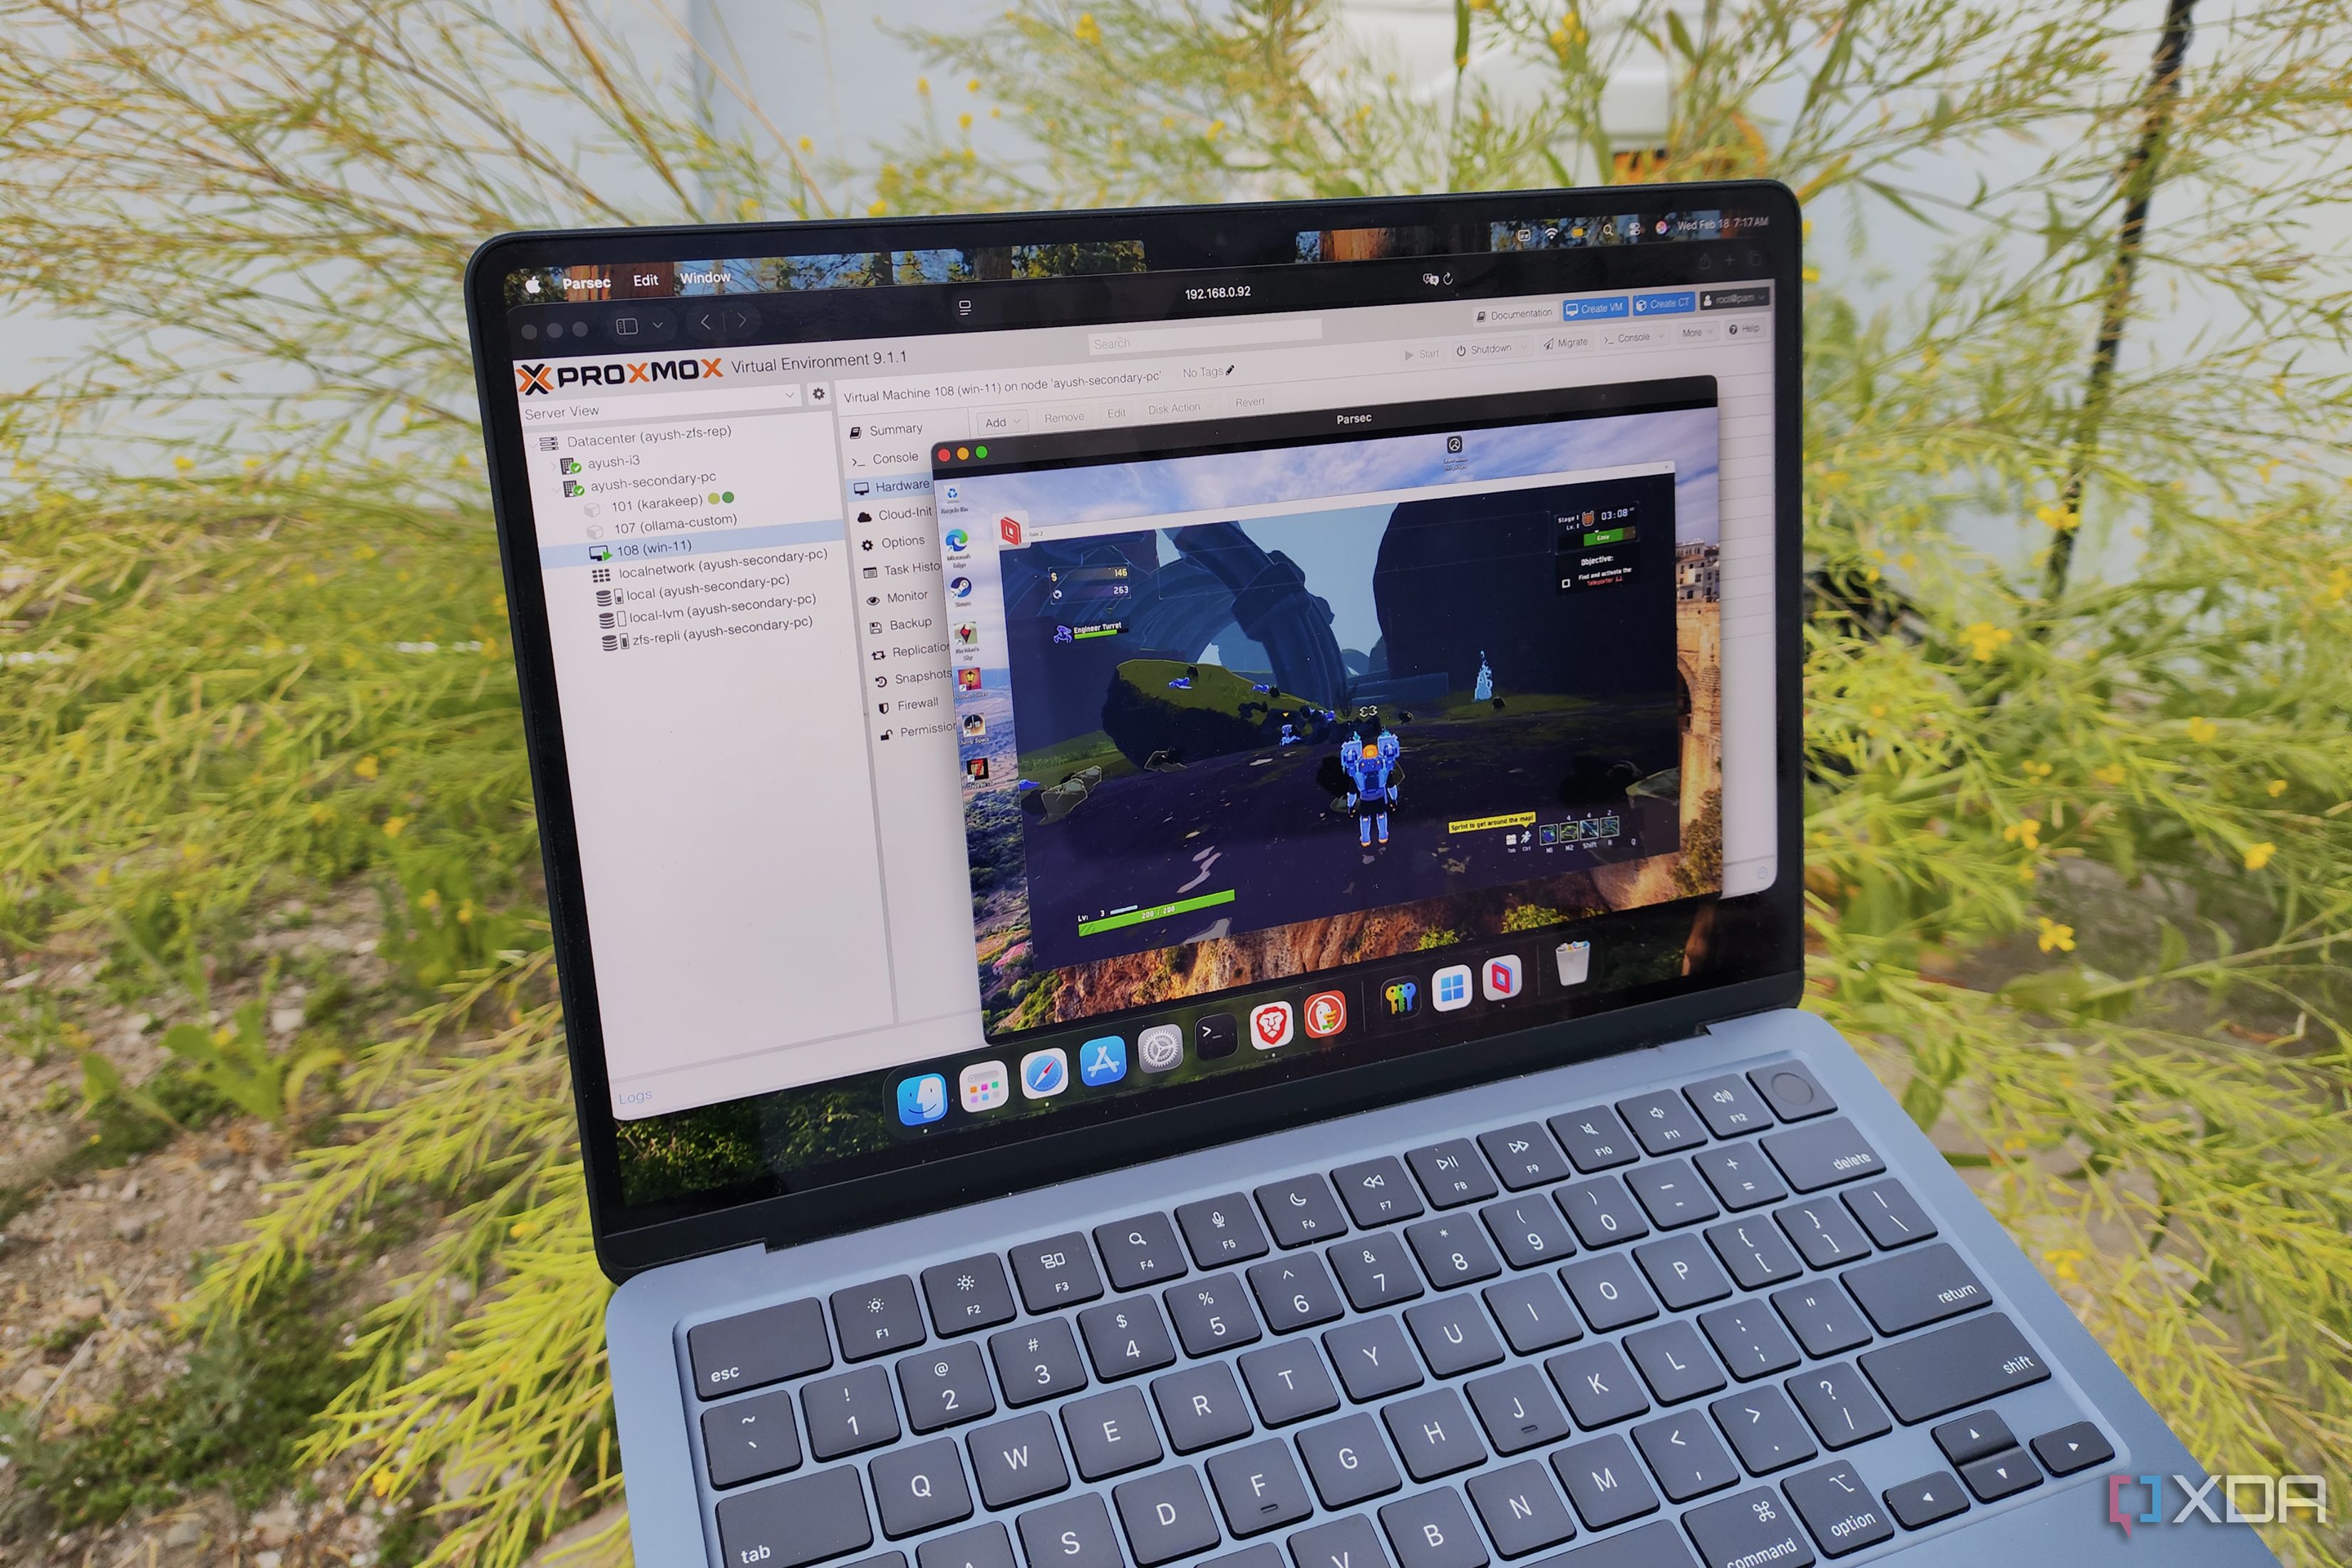
For years, the idea of running a full-time operating system inside a virtual machine seemed like a performance nightmare—reserved only for labs, testing, or emergency fallback scenarios. But virtualization has matured. Hypervisors like Proxmox now offer near-native performance for consumer and professional workflows alike. I’ve spent months using a Windows 11 VM hosted on a Proxmox cluster as my primary computer, handling everything from office productivity to light gaming and development. The results have reshaped how I think about hardware utilization, mobility, and disaster recovery.
Why Run Windows in a Proxmox VM?
There are several compelling reasons to adopt a virtualized daily driver, even for tasks that traditionally demand a dedicated machine. Below are the key motivations I discovered during my experiments.
Hardware Consolidation and Flexibility
Instead of maintaining a separate physical PC and a home server, a single Proxmox node can host both. You can dynamically allocate CPU cores, RAM, and GPU resources to the Windows VM while still running containers or other VMs for networking, storage, or media services. This consolidation reduces power draw, physical space requirements, and overall cost.
Snapshots and Instant Recovery
Proxmox’s snapshot feature is a game-changer for system stability. If a Windows update breaks the OS or a borked driver causes a blue screen, you can revert to a previous state in seconds. No more reinstalling Windows or hunting for restore points buried in the OS. For power users who constantly test new software or drivers, this safety net alone is worth the switch.
Seamless Hardware Migration
Because the VM abstracts hardware, you can move the entire Windows environment to another Proxmox node—even one with different physical components—without reinstalling. Upgrade your server or replace a failed motherboard, and your VM boots as if nothing changed. This kind of portability is impossible with a bare-metal installation.
Making the VM Feel Like Real Hardware
The biggest challenge I faced was overcoming latency and stuttering in everyday interactions. After several iterations, I settled on a configuration that delivers a buttery-smooth experience.
CPU and Memory Pinning
I assigned dedicated CPU cores (pinning) using the cpuunits and cpulimit settings in Proxmox. For memory, I allocated at least 16 GB of dedicated RAM without overcommitting, preventing ballooning from causing slowdowns. This ensures the VM gets priority access to physical resources when it needs them.
GPU Passthrough for Accelerated Graphics
Passing through a dedicated GPU (using vfio with ACS override patches) is essential for any graphics-intensive work. I used an NVIDIA GTX 1660 Super, which the VM recognized natively after installing drivers. For integrated graphics, Intel GVT-g partitioning works well for lighter workloads. The result is a Windows experience where animations, 4K video, and even modest gaming feel native.
Storage and Network Optimization
I placed the VM’s disk on a fast NVMe SSD using ZFS with a dedicated log device. In the VM itself, I installed the VirtIO drivers for disk and network, which dramatically reduce I/O latency and increase throughput. For network performance, I configured a bridged adapter with multi-queue enabled, assigning four RX/TX queues to the virtio NIC.
Everyday Usage Realities
After months of dailying the Proxmox Windows VM, I’ve found it meets or exceeds my expectations for almost all tasks—but a few trade-offs remain.
Productivity and Office Work
Office suites, browsers, email clients, and development IDEs run flawlessly. I use VS Code, Docker Desktop (Linux containers via WSL2), and various Git tools without any perceptible lag. Remote desktop protocols like RDP or SPICE provide reliable access when I need to connect from another device.
Gaming and Media Creation
Pass-through GPU gaming works well for titles up to a few years old. Modern AAA games may show stutter due to the overhead of hypervisor scheduling (even with pinning), but most esports titles and indie games run smoothly. For video editing, DaVinci Resolve and Adobe Premiere are usable but not ideal for real-time 4K effects—render times are about 5-10% longer compared to bare metal.
Audio and Peripheral Handling
USB pass-through is reliable for keyboards, mice, and audio interfaces, but I recommend using a dedicated USB controller card passed through to the VM for the lowest latency. Built-in USB controllers from the host may cause occasional dropouts during heavy I/O operations.

Common Pitfalls and How to Avoid Them
No virtualization project is without its quirks. Here are the most frequent issues I encountered and their solutions.
IOMMU Groups and ACS Patch
Many consumer motherboards group devices into restrictive IOMMU groups, preventing individual GPU pass-through. Applying the ACS override patch on the kernel command line allows you to split these groups. Be aware this is an unsupported hack that can affect other devices—test thoroughly.
Windows Activation and Virtualization
Some Windows licenses detect hardware changes more frequently in a VM, potentially requiring reactivation. Using a retail or volume license key sidesteps this issue. Avoid OEM keys tied to specific motherboard hardware.
Power Management and Sleep
Virtual machines don’t handle sleep states as gracefully as physical hardware. I disable sleep in Windows and rely on the Proxmox host to manage power states. Over time, consistent uptime hasn’t been an issue—reboots are rare thanks to the stability of the VM.
Is It Ready for Your Main PC?
If you value flexibility, easier backups, and the ability to run multiple operating systems on one machine, a Windows VM on Proxmox is more than capable as a daily driver. The performance gap has narrowed to the point where only the most latency-sensitive workloads—like competitive gaming with 144Hz displays or real-time audio production—might push you back to bare metal. For everyone else, the trade-offs are minimal and the benefits significant. Start with a secondary test machine, tweak the configurations outlined above, and you might find yourself unplugging your physical desktop for good.
Note: For a step-by-step setup guide, jump to Setting Up Your Proxmox Windows VM. For advanced tuning, see Performance Tuning Tips.
Setting Up Your Proxmox Windows VM
Prepare your host with a recent Proxmox VE installation (7.x or later), enable hardware virtualization (VT-d/AMD-Vi), and configure IOMMU. Download the Windows 11 ISO and VirtIO drivers ISO. Create a new VM with the following recommended settings:
- CPU type: host (for enhanced instruction sets)
- BIOS: OVMF (UEFI) with TPM 2.0 added for Windows 11 compatibility
- Disk: 64 GB minimum, on a fast SSD with VirtIO SCSI controller
- Network: VirtIO (multi-queue enabled)
- Graphics: SPICE with VirtIO GPU (or pass-through dedicated GPU)
Performance Tuning Tips
- CPU pinning: Map virtual CPUs to physical cores in the host’s
/etc/pve/qemu-server/using the.conf cpuNandcpulimitdirectives. - Memory hugepages: Enable 1 GB hugepages on the host for reduced TLB overhead.
- Disk cache: Set
cache = writebackorunsafe(with backups) for improved write performance. - VirtIO drivers: Install the latest stable version from Fedora’s repository inside the VM.
- Disable unnecessary services: Turn off Windows Defender real-time scanning, search indexing, and animations to free resources.
With these adjustments, your Proxmox Windows VM will feel snappy enough to replace your main PC—just like mine has.